File Transfers
Data Transfer with Globus
The recommended method for transferring large data files to and from the DSAI cluster is to use Globus. Globus manages transfers reliably in the background, handling restarts if interruptions occur.
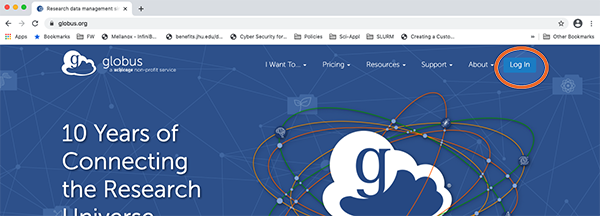
1. Connect to Globus
Use your browser to visit: https://www.globus.org
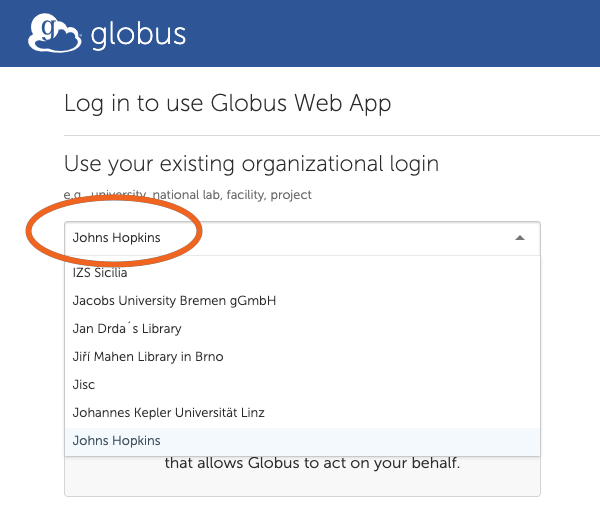
2. Search for Johns Hopkins
Search and select “Johns Hopkins” as your institution.
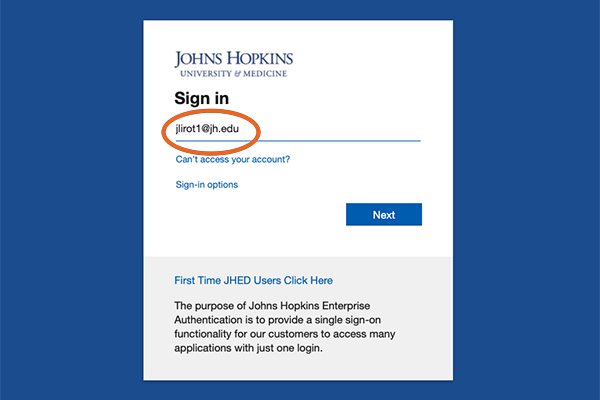
3. Log in with JHED ID
Use your JHED ID to log in through the Johns Hopkins SSO portal.
4. Search for the JHU DSAI Data Collection
After logging in, search for the collection “JHU DSAI Data” in the Collection Search screen. Click on “JHU DSAI Data” when it appears.

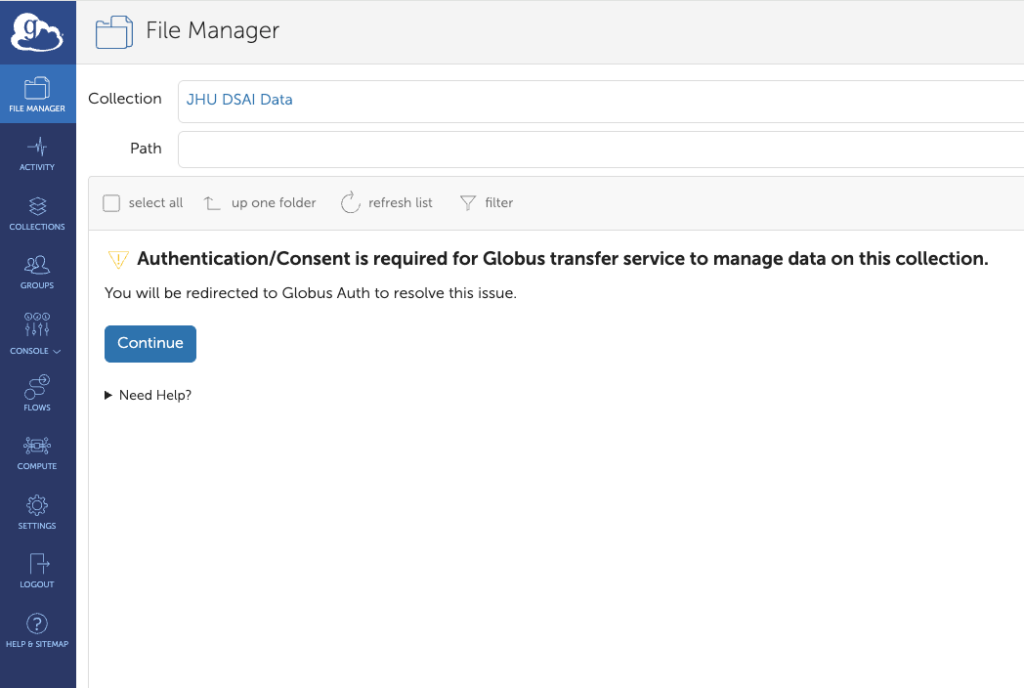
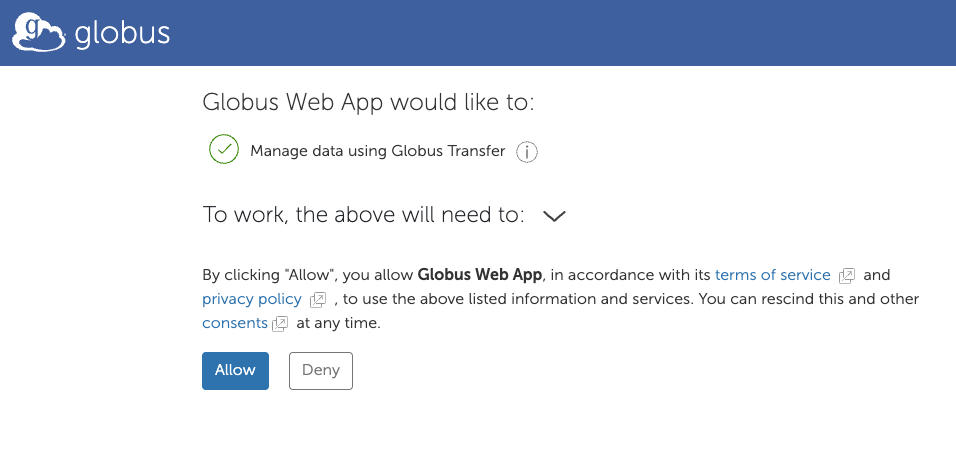
5. Authenticate Access
You’ll be prompted to authenticate with the “JHU DSAI Data” collection. This is required on first access or after removing the collection.
Click “Continue”.
6. Select Your JHED Identity
Choose your JHED ID from the list of available identities.
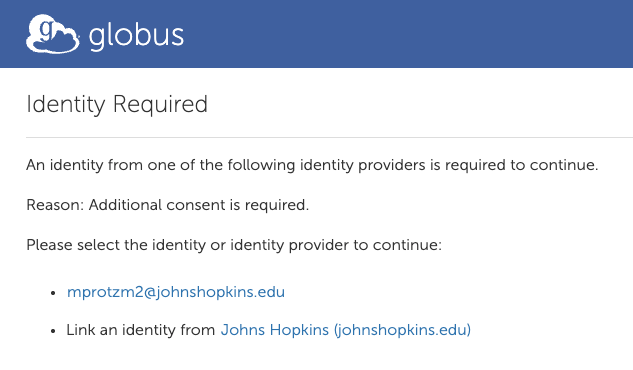
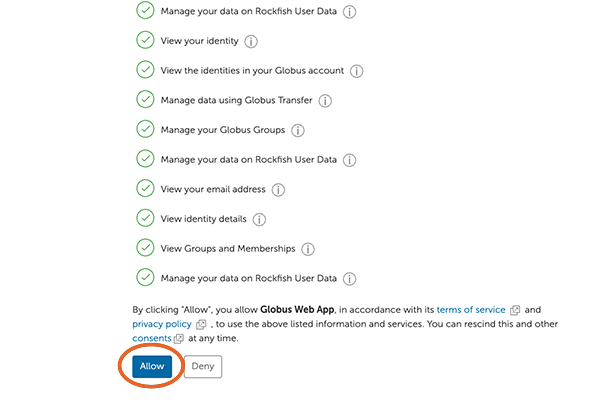
7. Allow Access to the Globus Web App
Scroll to the bottom and click “Allow” to authorize access.
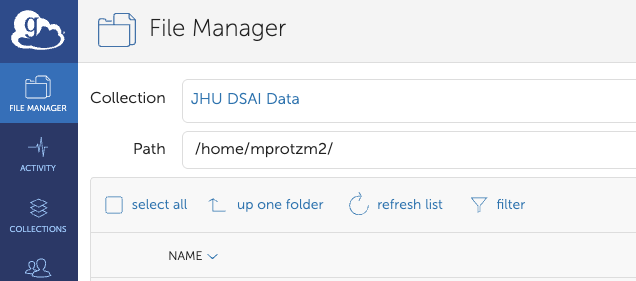
8. DSAI Endpoint
Once authorized, you will see the DSAI endpoint connected (your HOME directory).
9. Choose a Second Endpoint
On the other side of the interface, select a second endpoint. This could be: - A Globus Connect Personal instance (e.g., your laptop) - An HPC system like Bridges2
10. Authentication for Second Endpoint (if needed)
You may be asked to authenticate to the second system. If using your own Globus Connect Personal setup, you might not need additional authentication.
11. File Manager View
You’ll now see a split-pane interface. The left side shows your DSAI files. The right side shows your selected endpoint.
12. Start File Transfer
To transfer files: - Select the folder or files on one side. - Click “Start” to begin the transfer.
You can also open “Transfer & Sync Options” to configure behavior like sync mode or overwrite rules.